以下、3.5inch display touch panel にシェル画面表示をする方法
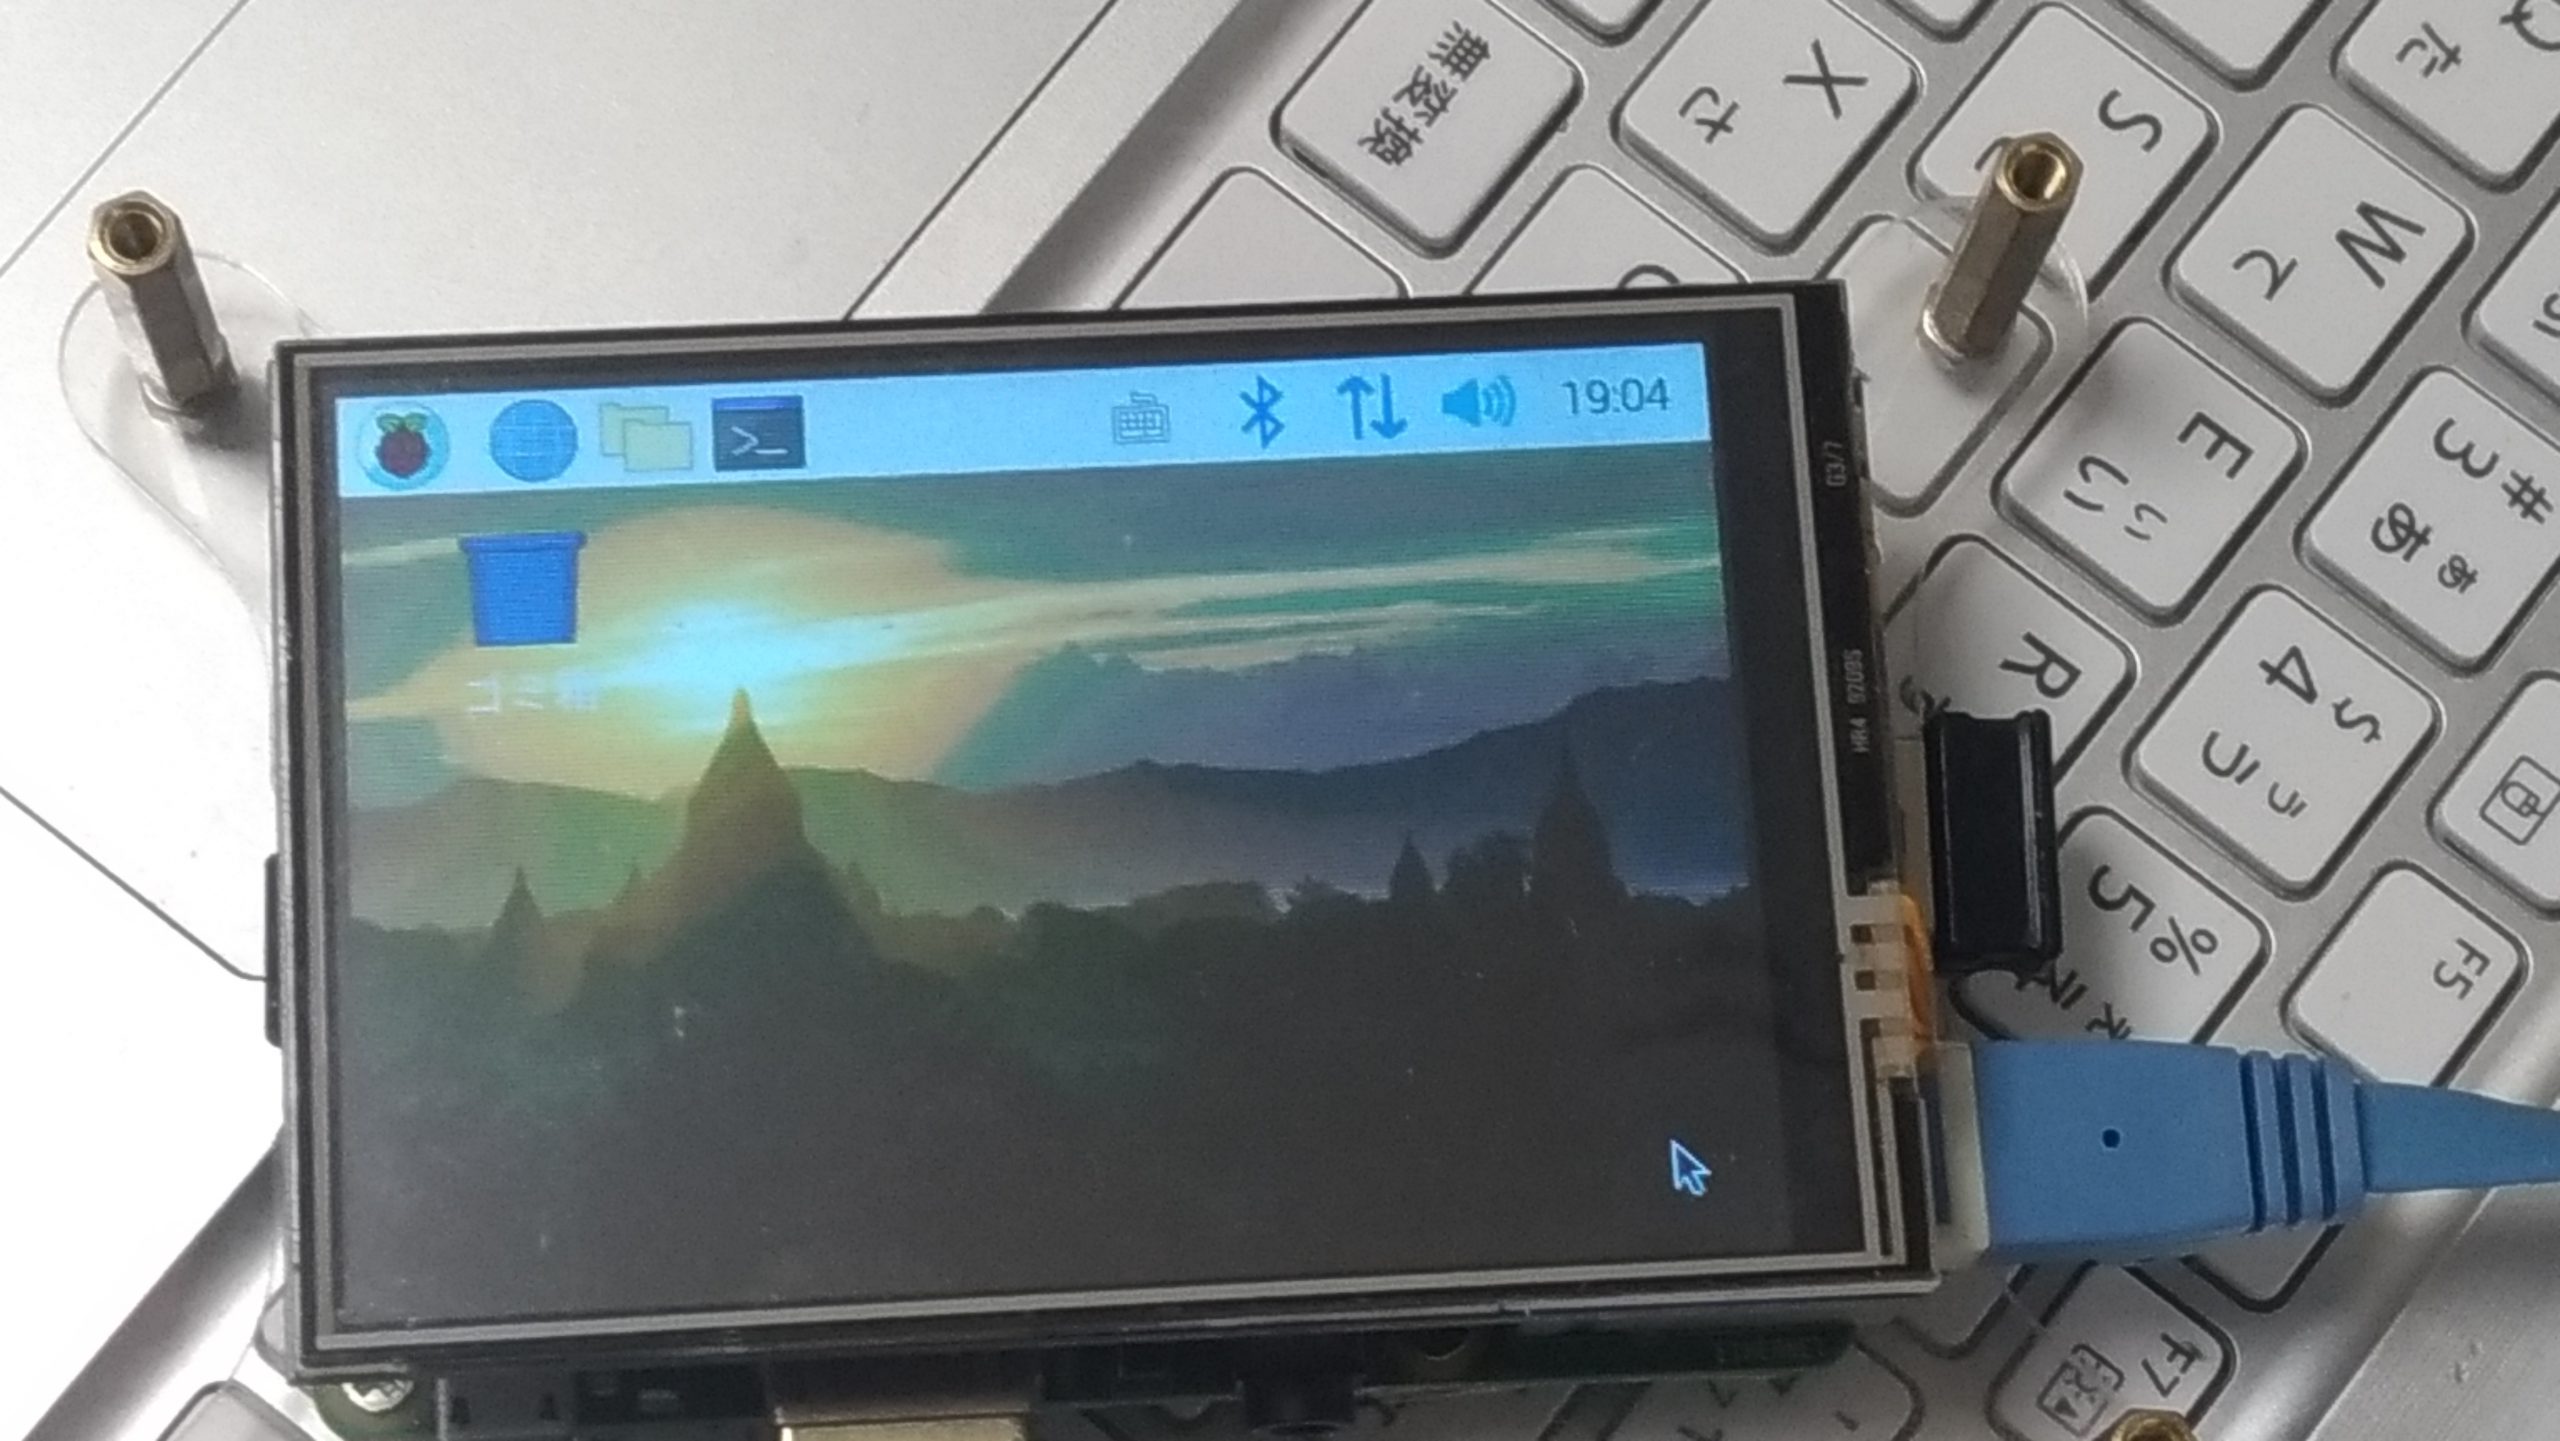
対象機種は以下の写真のものです

3.5inch Touch Display

ハードウエア実装
・ピン数が異なりますが1PIN側を合わせて接続します。
●タッチパネルドライバーのインストール
まず、このディスプレイを使用する場合、2つの方法がある・・・とか言っているけど
インストールの方法だけ書きます。
1).ドライバーインストール
ラズパイにOSを導入しておくところまでは同じ
git clone https://github.com/waveshare/LCD-show.git
cd LCD-show/
chmod +x LCD35-show
 ./LCD35-show
いきなり再起動します。
これで基本的にタッチパネルと画像表示はできるはずです。
このとき、もし、ほかのディスプレイにつないでいたとしたら、そちらの解像度も変わっていると思いますが、まずはそれで正しいです。
CLIで解像度の違う2画面化の方法は、、、わかりません。
GLIでしたら、2画面化はたぶんX起動後の設定で変更できるかと思います(やってない)
●ディスプレー切り替え
一回上の手続きをすると、当然設定をいじっちゃうんで、ほかのディスプレーを使いたいときは以下をやってくれ
って書いてあるけどやったことない。
cd LCD-show/
 ./LCD-hdmi
また戻すときはこれ
./LCD35-show
●カスタマイズ:スクリーンの方向を変える
ただし、この方法はおそらくPi4のOPEN GLドライバと相性が悪いんでそこんとこよろしく
(config.txtの中で読み込み設定できる)
- 0 degree rotation
cd LCD-show/
./LCD35-show 0
- 90 degree rotation
cd LCD-show/
./LCD35-show 90
- 180 degree rotation
cd LCD-show/
./LCD35-show 180
- 270 degree rotation
cd LCD-show/
./LCD35-show 270
●タッチスクリーンの位置補正(やってない)
This LCD can be calibrated through the xinput-calibrator program. Note: The Raspberry Pi must be connected to the network, or else the program won’t be successfully installed.
- Run the following command to install:
sudo apt-get install xinput-calibrator
- Click the “Menu” button on the taskbar, choose “Preference” -> “Calibrate Touchscreen”.
- Finish the touch calibration following the prompts. Maybe rebooting is required to make calibration active.
- You can create a 99-calibration.conf file to save the touch parameters (not necessary if file exists).
sudo mkdir /etc/X11/xorg.conf.d
sudo nano /etc/X11/xorg.conf.d/99-calibration.conf
- Save the touch parameters (may differ depending on LCD) to 99-calibration.conf, as shown in the picture:

- Press the keys Ctrl+X, and select option Y to save the modification.
- The modification will be valid after rebooting the system. Enter the following command for system reboot:
sudo reboot
Notices: In case of inaccurate touch, please perform screen calibration again and reboot the system.
●X上の仮想キーボードのインストール
1. Install matchbox-keyboard
sudo apt-get install update
sudo apt-get install matchbox-keyboard
sudo nano /usr/bin/toggle-matchbox-keyboard.sh
2. Copy the statements below to toggle-matchbox-keyboard.sh and save.
#!/bin/bash
#This script toggle the virtual keyboard
PID=`pidof matchbox-keyboard`
if [ ! -e $PID ]; then
killall matchbox-keyboard
else
matchbox-keyboard -s 50 extended&
fi
3. Execute the commands:
sudo chmod +x /usr/bin/toggle-matchbox-keyboard.sh
sudo mkdir /usr/local/share/applications
sudo nano /usr/local/share/applications/toggle-matchbox-keyboard.desktop
4. Copy the statements to toggle-matchbox-keyboard.desktop and save.
[Desktop Entry]
Name=Toggle Matchbox Keyboard
Comment=Toggle Matchbox Keyboard`
Exec=toggle-matchbox-keyboard.sh
Type=Application
Icon=matchbox-keyboard.png
Categories=Panel;Utility;MB
X-MB-INPUT-MECHANSIM=True
5. Execute commands as below. Note that you need to use “Pi ” user permission instead of root to execute this command
nano ~/.config/lxpanel/LXDE-pi/panels/panel
6. Find the statement which is similar to below: (It maybe different in different version)
Plugin {
type = launchbar
Config {
Button {
id=lxde-screenlock.desktop
}
Button {
id=lxde-logout.desktop
}
}
7. Append these statements to add an button option:
Button {
id=/usr/local/share/applications/toggle-matchbox-keyboard.desktop
}

8. reboot your Raspberry Pi. If the virtual keyboard is installed correctly, you can find that there is a keyboard icon on the left of the bar
sudo reboot
●カメラを有効化させる(カメラをディスプレイにうつしたい人)
1. Select “Enable Camera” -> “<YES>”
sudo raspi-config
2. Copy the Camera driver to the OS of Pi then:
unzip camera.zip
cd camera
sudo chmod 777 Camera
sudo cp update\ camera/95-stmpe.rules /etc/udev/rules.d/
3. Create a file called wheezy.list.
sudo nano /etc/apt/sources.list.d/wheezy.list
Append:
deb http://archive.raspbian.org/raspbian wheezy main
Exit with save.
4. Create a file called 10defaultRelease.
sudo nano /etc/apt/apt.conf.d/10defaultRelease
Append:
APT::Default-release \"stable";
Exit with save.
5. Create a file called libsdl.
sudo nano /etc/apt/preferences.d/libsdl
Append:
Package: libsdl1.2debian
Pin: release n=jessie
Pin-Priority: -10
Package: libsdl1.2debian
Pin: release n=wheezy
Pin-Priority: 900
Exit with save.
6. Last, execute the commands:
sudo apt-get update
sudo apt-get -y --force-yes install libsdl1.2debian/wheezy
sudo apt-get install evtest tslib libts-bin xinput
sudo apt-get install python-pip
sudo apt-get install python2.7-dev
sudo pip install picamera==1.10
sudo reboot
sudo TSLIB_FBDEVICE=/dev/fb1 TSLIB_TSDEVICE=/dev/input/touchscreen ts_calibrate
Camera will be enabled by the steps above.
●インターフェイス
| PIN NO. | SYMBOL | DESCRIPTION |
|---|---|---|
| 1, 17 | 3.3V | Power positive (3.3V power input) |
| 2, 4 | 5V | Power positive (5V power input) |
| 3, 5, 7, 8, 10, 12, 13, 15, 16 | NC | NC |
| 6, 9, 14, 20, 25 | GND | Ground |
| 11 | TP_IRQ | Touch Panel interrupt, low level while the Touch Panel detects touching |
| 18 | LCD_RS | Command/data register selection |
| 19 | LCD_SI / TP_SI | LCD display/SPI data input of Touch Panel |
| 21 | TP_SO | SPI data output of Touch Panel |
| 22 | RST | Reset |
| 23 | LCD_SCK / TP_SCK | LCD display/SPI clock of Touch Panel |
| 24 | LCD_CS | LCD chip selection, low active |
| 26 | TP_CS | Touch Panel chip selection, low active |